The Ultimate Guide to Removing Old Wallpaper
Old wallpaper can be a stubborn and unsightly feature in your home, but fear not! With the right tools, techniques, and a bit of patience, you can transform your space by removing that outdated wallpaper. In this ultimate guide, we'll walk you through a step-by-step approach to ensure a successful wallpaper removal process.
Step 1: Gather Your Supplies- Wallpaper scorer
- Wallpaper stripper solution or a mixture of water and vinegar
- Plastic drop cloths
- Wallpaper scraper
- Sponge or cloth
- Utility knife
- Bucket
- Spray bottle
- Ladder or step stool
Remove furniture and cover the floor with plastic drop cloths to protect it from water and wallpaper debris. This step will make the cleanup process much easier.
Step 3: Score the WallpaperUse a wallpaper scorer to create small perforations in the wallpaper. This will allow the wallpaper stripper solution to penetrate and loosen the adhesive behind the paper.
Step 4: Mix Wallpaper Stripper SolutionFollow the instructions on your wallpaper stripper solution or create a DIY solution by mixing equal parts water and vinegar. Pour the mixture into a spray bottle for easy application.
Step 5: Apply the Wallpaper StripperGenerously spray the wallpaper with the stripper solution, ensuring that it penetrates the perforations made by the wallpaper scorer. Allow the solution to sit for the recommended time specified on the product.
Step 6: Test a Small AreaBefore proceeding with the entire wall, test a small section to check if the wallpaper is ready to be removed. If the paper easily peels away from the wall, you can proceed to the next step.
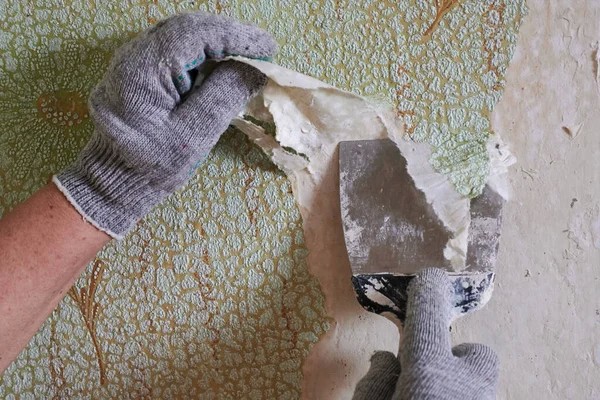
Step 7: Remove the WallpaperUsing a wallpaper scraper, gently lift the edges of the wallpaper and peel it away from the wall. Work in small sections, and be patient to avoid damaging the underlying wall.
Step 8: Repeat if NecessarySome wallpaper may require a second application of the stripper solution for complete removal. If needed, repeat the process until all the wallpaper is removed.
Step 9: Clean the WallsAfter removing the wallpaper, clean the walls with a sponge or cloth to remove any remaining adhesive residue. If stubborn residue persists, use a mixture of water and mild dish soap.
Step 10: Final TouchesInspect the walls for any imperfections or damage. Patch up holes or cracks and sand the surface for a smooth finish. Now, your walls are ready for a fresh coat of paint or new wallpaper!
Removing old wallpaper may seem like a daunting task, but with the right approach and tools, you can revitalize your space and give it a fresh, updated look. Remember to take your time, follow each step carefully, and enjoy the transformation of your walls. Happy decorating!
When you subscribe to the blog, we will send you an e-mail when there are new updates on the site so you wouldn't miss them.


Comments